Getting started
Installation
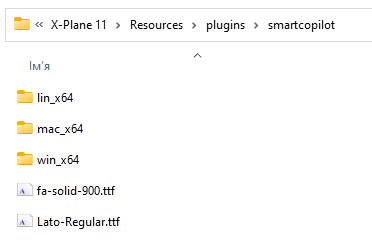
Download SmartCopilot plugin from the home page and extract its content to the standard X-Plane plugin installation path [X-Plane Root]\Resources\plugins. The final directory content should look like the following:
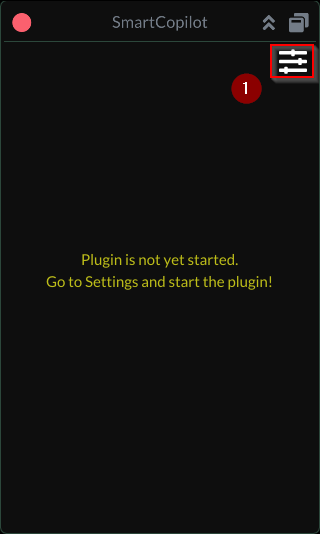
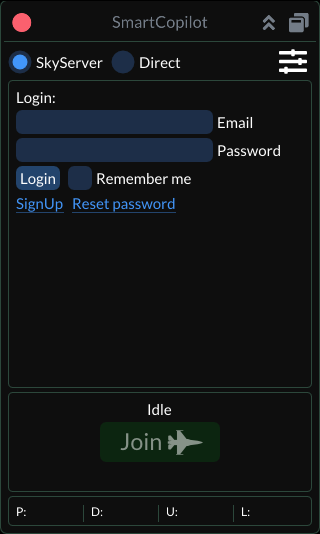
The main plugin window will be visible after restarting X-Plane and entering the flight. Users can always show the main window by navigating the X-Plane top menu: Plugins - SmartCopilot - Show UI.
On the first start, the user needs to select the networking interface and start the plugin:
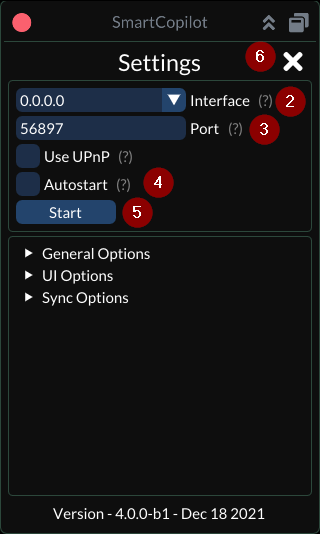
- Navigate to the plugin Settings
- Select network interface from the dropdown (leave
0.0.0.0for most of the cases) - Enter network port (default is
56897) - Select Autostart checkbox if the plugin should start automatically on every X-Plane start.
- Press Start button.
- Close Settings dialog.
Signing Up
To use SkyServer connection mode, every user should create a user account.
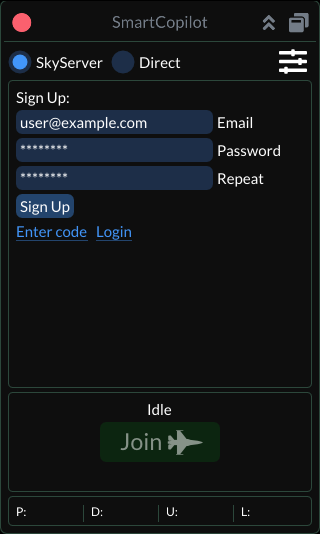
- Open Sign Up dialog.
- Enter email and password.
- Press Sign Up button.
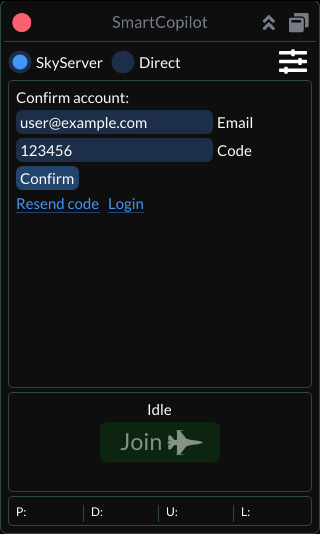
- User will receive the confirmation code to the mailbox provided.
- Enter the confirmation code.
- Press Confirm button.
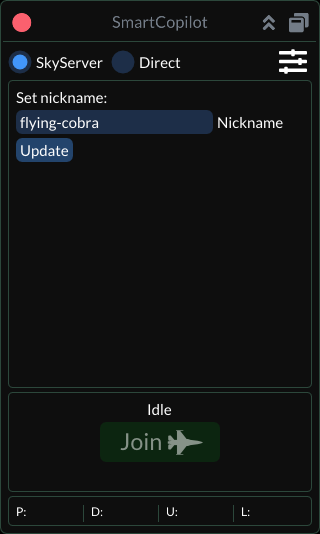
- Login using the email and password.
- On the first login, set the nickname (can be changed later).
- Press Update button.
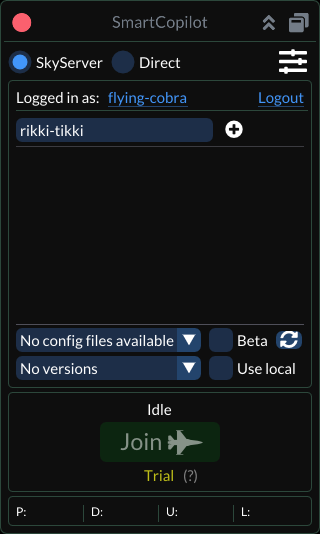
Adding friends
The user needs to add his partners to the friend list:
- Get a partner nickname (do not use an email address).
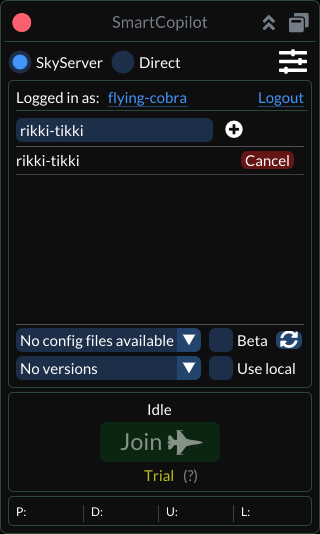
- Enter the nickname in the search list and press + button.
- If the user exists, he will receive a friend request.
- After the partner confirms the friendship, both users can connect each other easily.
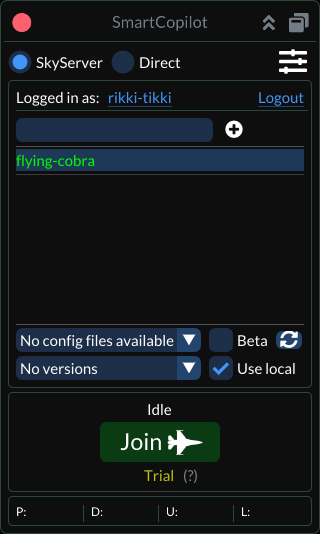
Connecting
Please select the partner in the friend list and click the Join button. The connection can also be made by double-clicking on the user in the friend list.